Several years ago when Courtney got married I remember meeting her photographer and instantly liking him. He said my nose ring was hott and, duh, flattery works 🙂 Once Zach and I started talking to him we realized that he was our kind of person. He was in a transition from traditional wedding photography to photojournalism type stuff and we just so happened to fall perfectly in line with where he was headed. The DAY after we got engaged we booked him. I didn’t know my budget. I didn’t know where we’d be getting married. Heck, I didn’t even know the date. But Zach and I knew we had to have Javon! It was hands down the best decision I made when planning my wedding. Zach and I love every single picture he took and constantly say we wish Javon could be with us ALL the time to capture our lives in his pictures 🙂
Another bit of perfect timing happened recently: I have been blogging for awhile now and am constantly taking pictures but never feel like they are up to par with other mommy bloggers. So for Christmas Zach bought me a new camera and told me I need to learn how to use the settings this time around! Then BAM! Javon just so happens to set up his very first beginners photography workshop! Um, perfect timing 🙂 It’s meeting for four Tuesday nights and I thought I’d do a blog entry on what I learn each night so I can reference back to it later as well as give you guys some tips that may be useful to you. I’ll also show you my assignment pictures for each week, both in raw form and after some tweaking.
The first night was a lot of introducing and learning more about Javon and how he got started. Here’s some of the tips I learned:
- I want my camera set on high quality jpeg
- Using Photoshop Elements (which I have but am totally guilty of just using Picasa for everything…) is fine instead of having to dish out the dough for the full version
- The higher amount of megapixels, the clearer and better quality an image will be (so I’m keeping mine set on the highest even though it takes up more space on the memory card!)
- Always have multiple back-ups of your data (lesson I already learned b/c I had ALL my pre-Kye images saved on an external hard drive and it CRASHED. So now I’m going to have to spend $730 to recover them!!!!). Javon recommends backing things up using dvdroms as they are more sturdy and hold more than just cds.
Those are just a few of the notes I jotted down (MUCH more to come from Class 2). I enjoyed the class but was very intimidated! Everyone other than one other girl has an SLR camera and pretty much everyone in there is artsy and creative and some people already get paid for their work. I was embarrassed by my lack of knowledge and skill, but got more comfortable when I realized that other people in the room were feeling the same way 🙂 There’s another mom in the class who, like me, takes picture after picture of her children. She’s as clueless as I am so I feel a lot more comfortable about opening up and asking “dumb” questions 🙂
Our assignment for the week was to photograph something that means love to you. I was pretty nervous about the whole idea of someone critiquing my images – especially a legit world famous photographer! So I didn’t try as hard as I should have with the assignment. I LOVE to take pictures but feeling made to take them made it less fun (kinda like how I enjoy pleasure reading but when I was made to read for school I hated it). After class 2 and sharing the critiquing process with everyone else I feel WAY more comfortable with it and have had more fun this second week already with the assignment :). Here’s my 5 pictures from assignment 1:
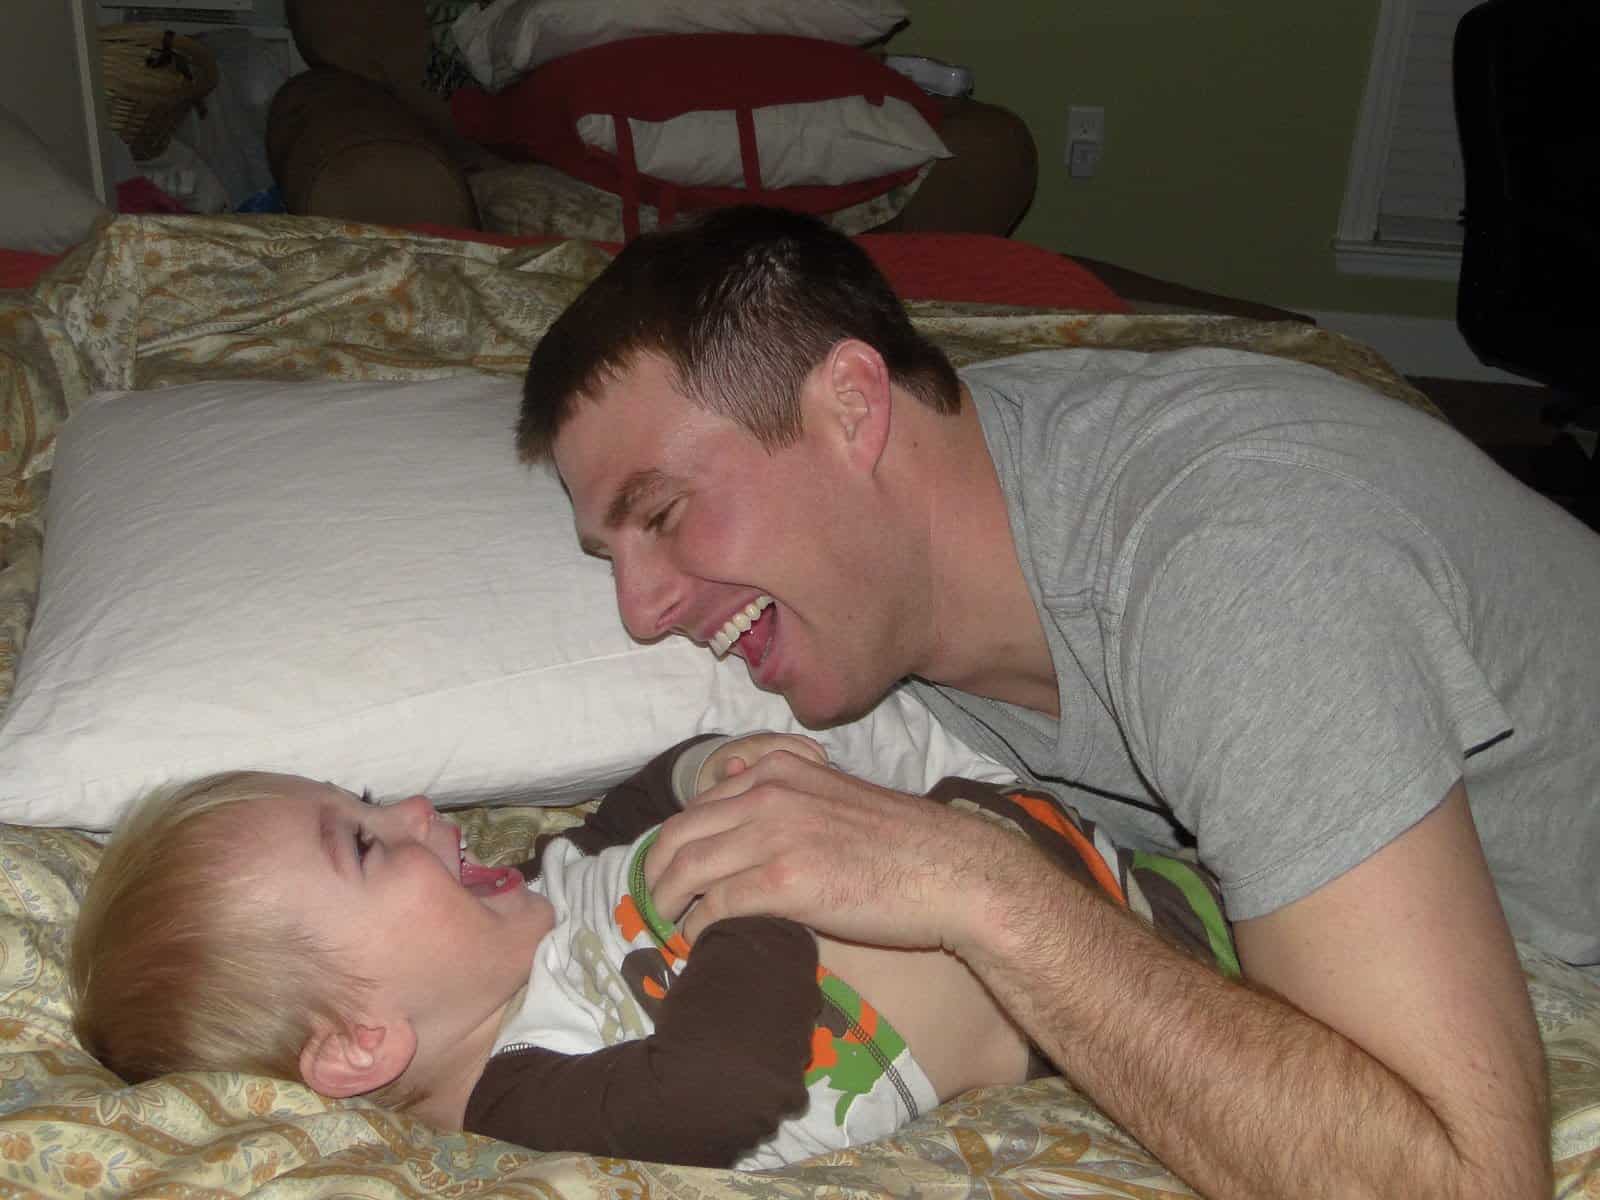
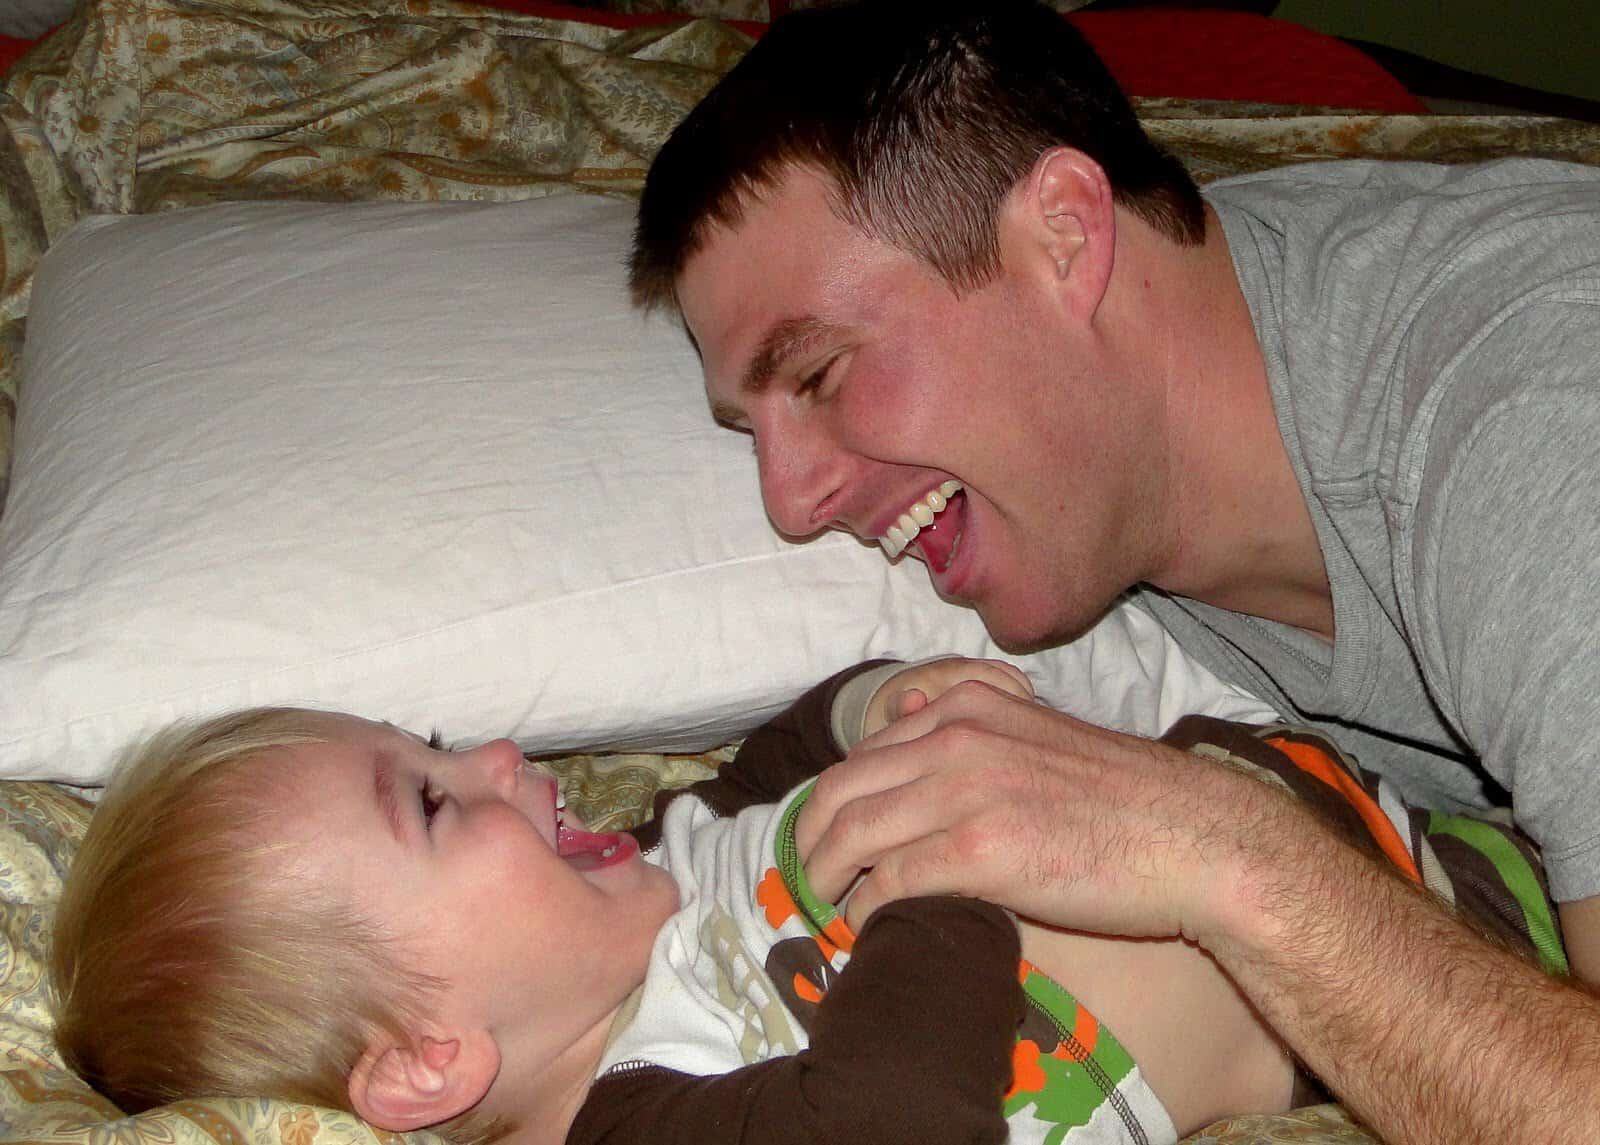
1. I always feel a sweet love feeling whenever I see Zach and Kye playing together. It’s a mom thing I guess but seeing my husband be a natural, fun, AMAZING dad is a great thing to experience!
The goal is always to have the focus on the subject and to remove as much other junk as you can. In this picture I wish I had taken a second to get rid of the pillow beside them as well as the one in the chair and I wish Kye’s shirt was pulled down. I did a little editing by cropping it in closer and lightening it up a bit.
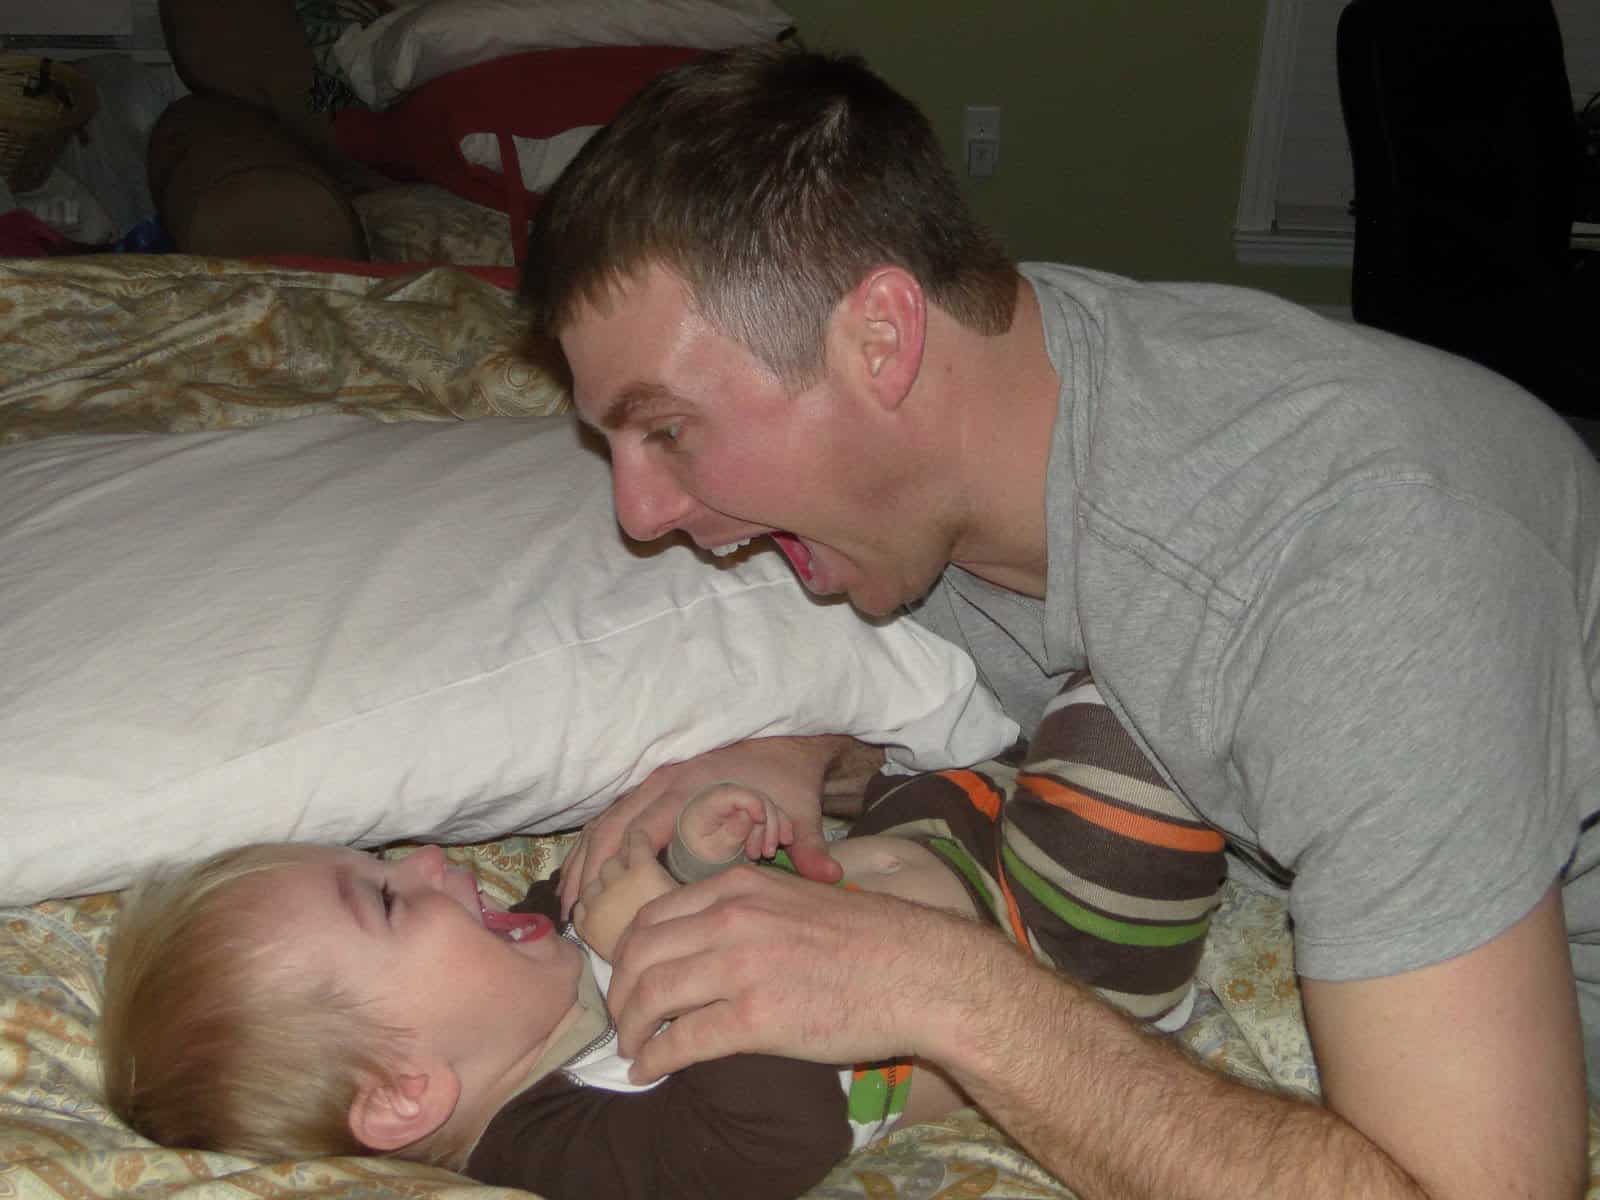
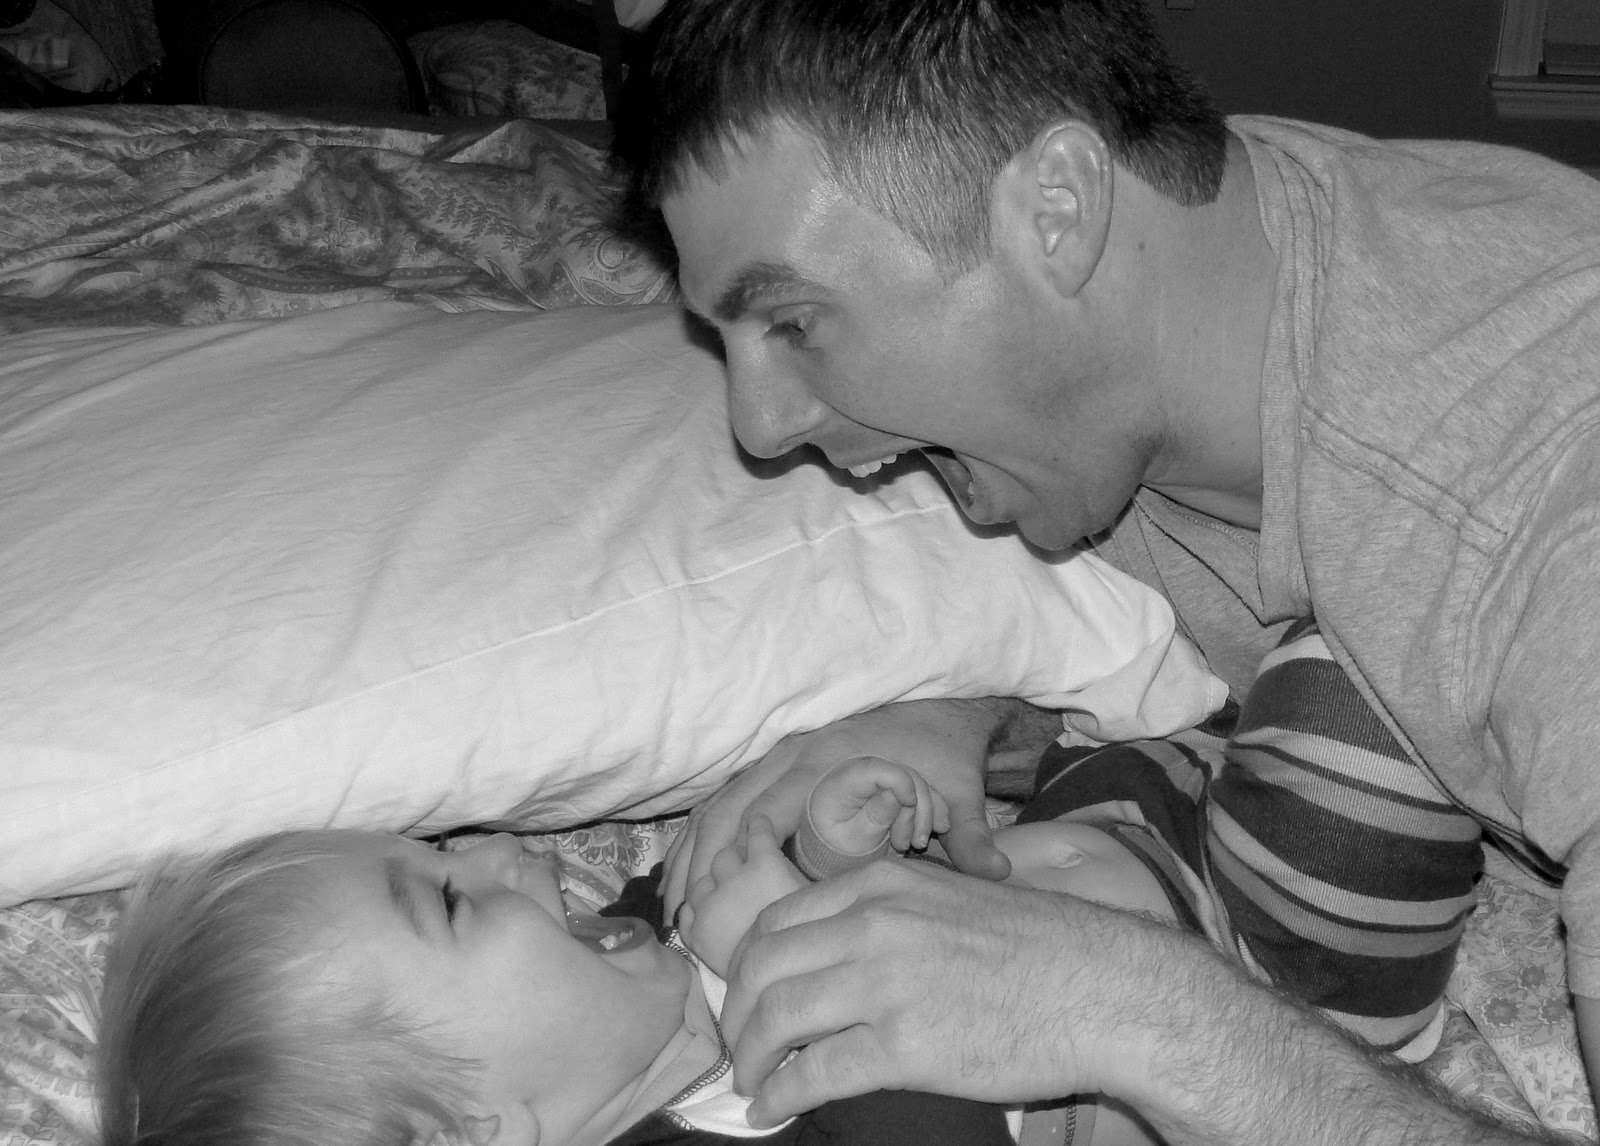
2. Pretty much the same picture as #1 but I had to include it because I love how Zach and Kye are making matching faces 🙂
We talked about how black and white can really help focus be on your subject because it minimizes other distractions. In this picture Kye’s outfit is a little loud as are our bed linens so I think some cropping and converting to black and white helped
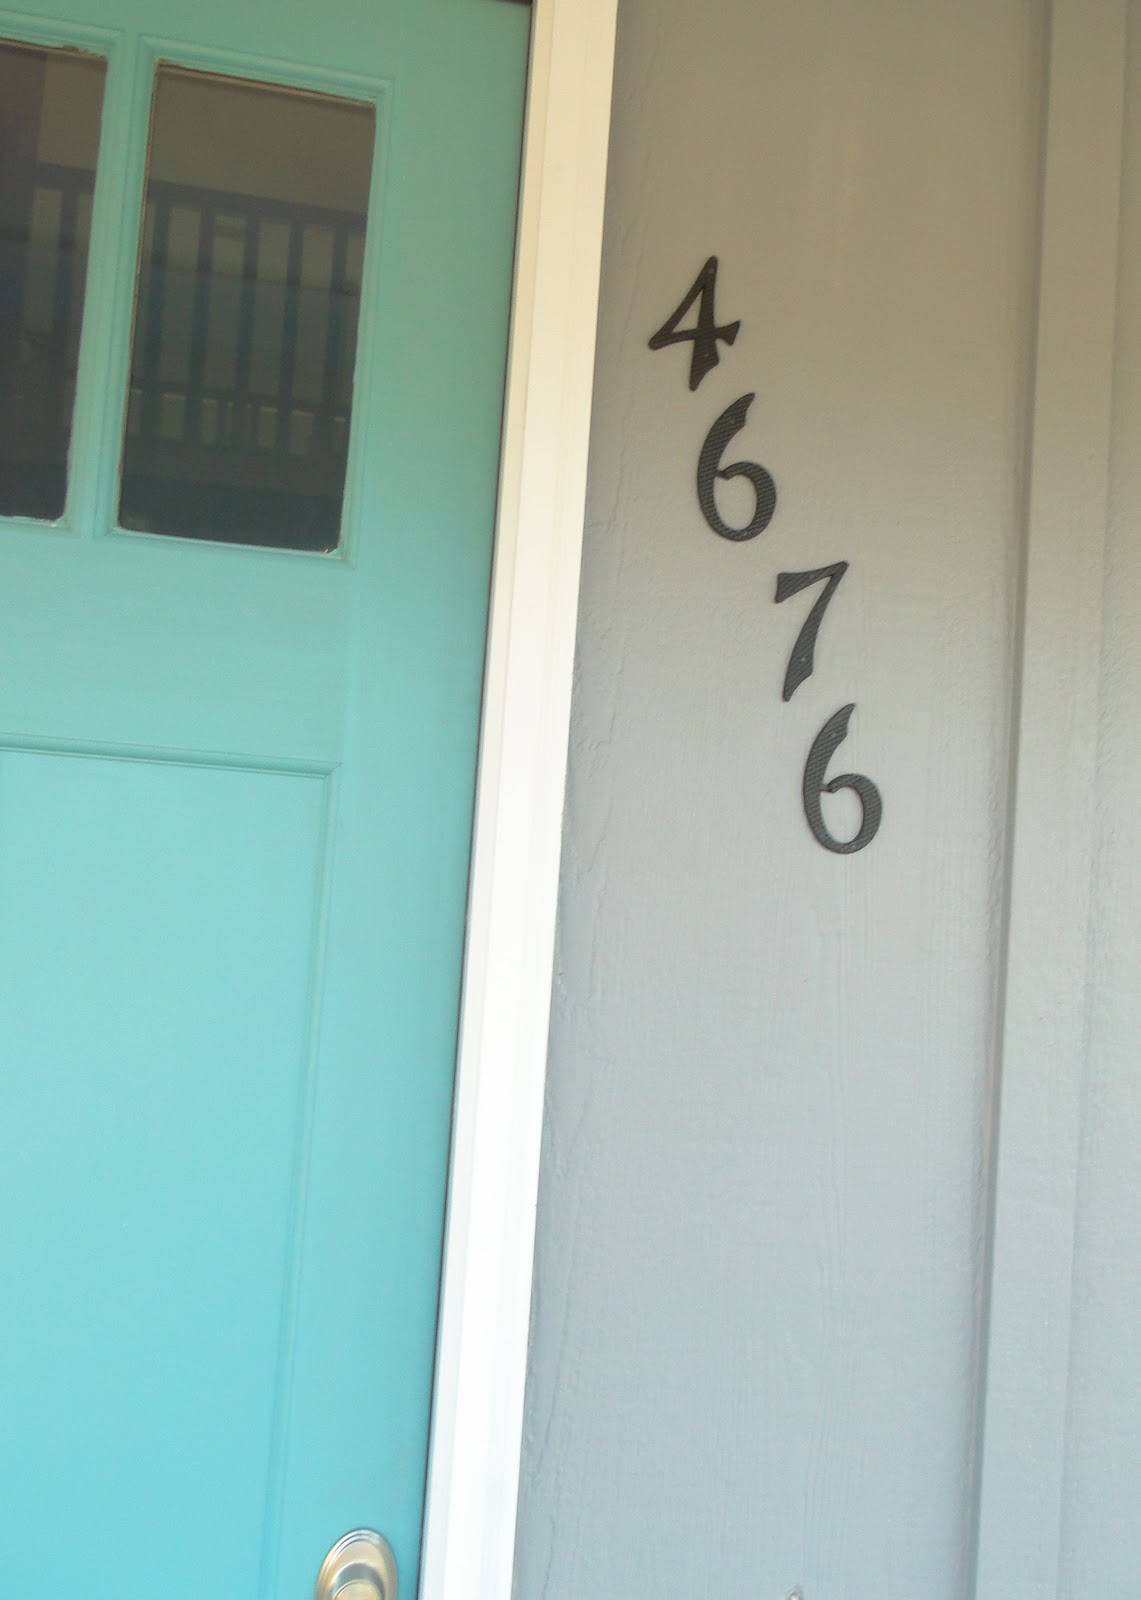
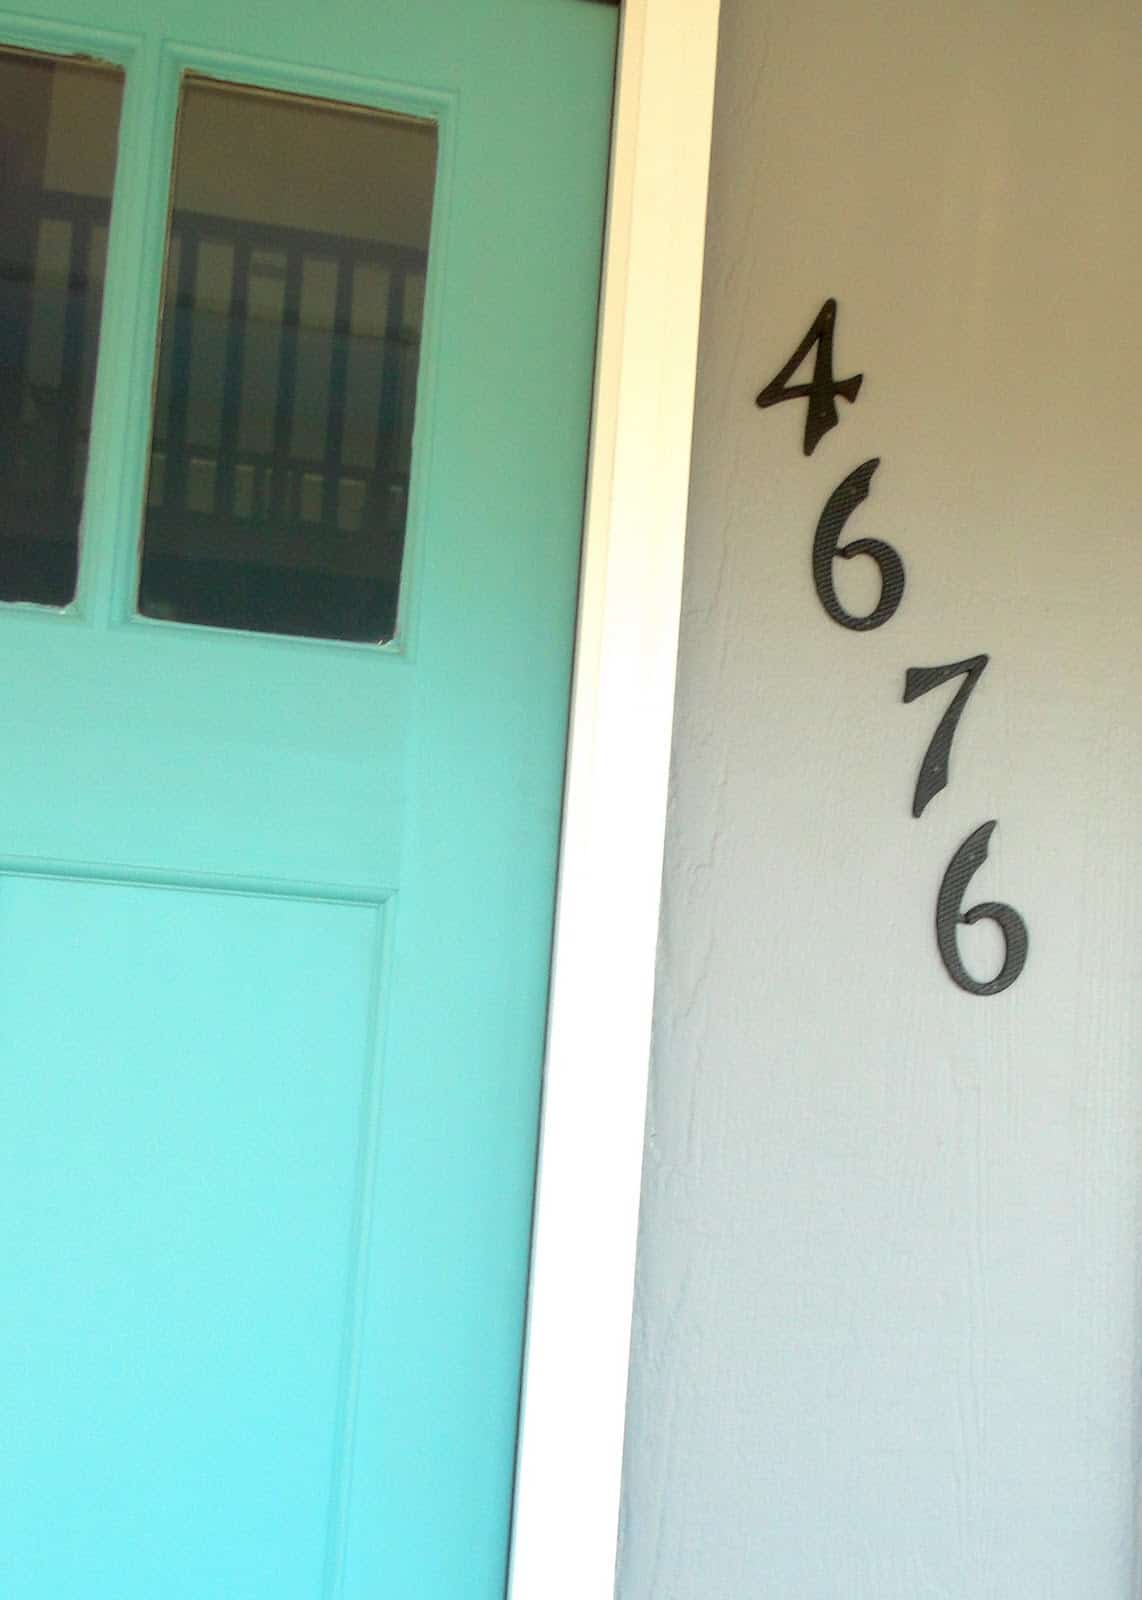
3. After months of working on our new home I feel like it’s part of me. I wanted to specifically get a photo of the door because the color. We are in a back and forth battle of sorts with the HOA about it (post to come whenever things get reconciled) and I know that most likely it’ll be changing in the near future so I wanted to capture it while I still can!
In a perfect world I would have gotten a step stool out and made myself taller so you wouldn’t have that feeling of looking UP in the picture. If I was level with the numbers I think the feel would have been better for this. I did a little cropping as I don’t like how you can see the doorknob in the original and I played with the tuning of it as well (pretty much my editing go-to is just to mess with the fill light, highlights, and shadows until I think it looks good haha). I wish the lighting had been better as I don’t like the shadow on the upper part of the image either.
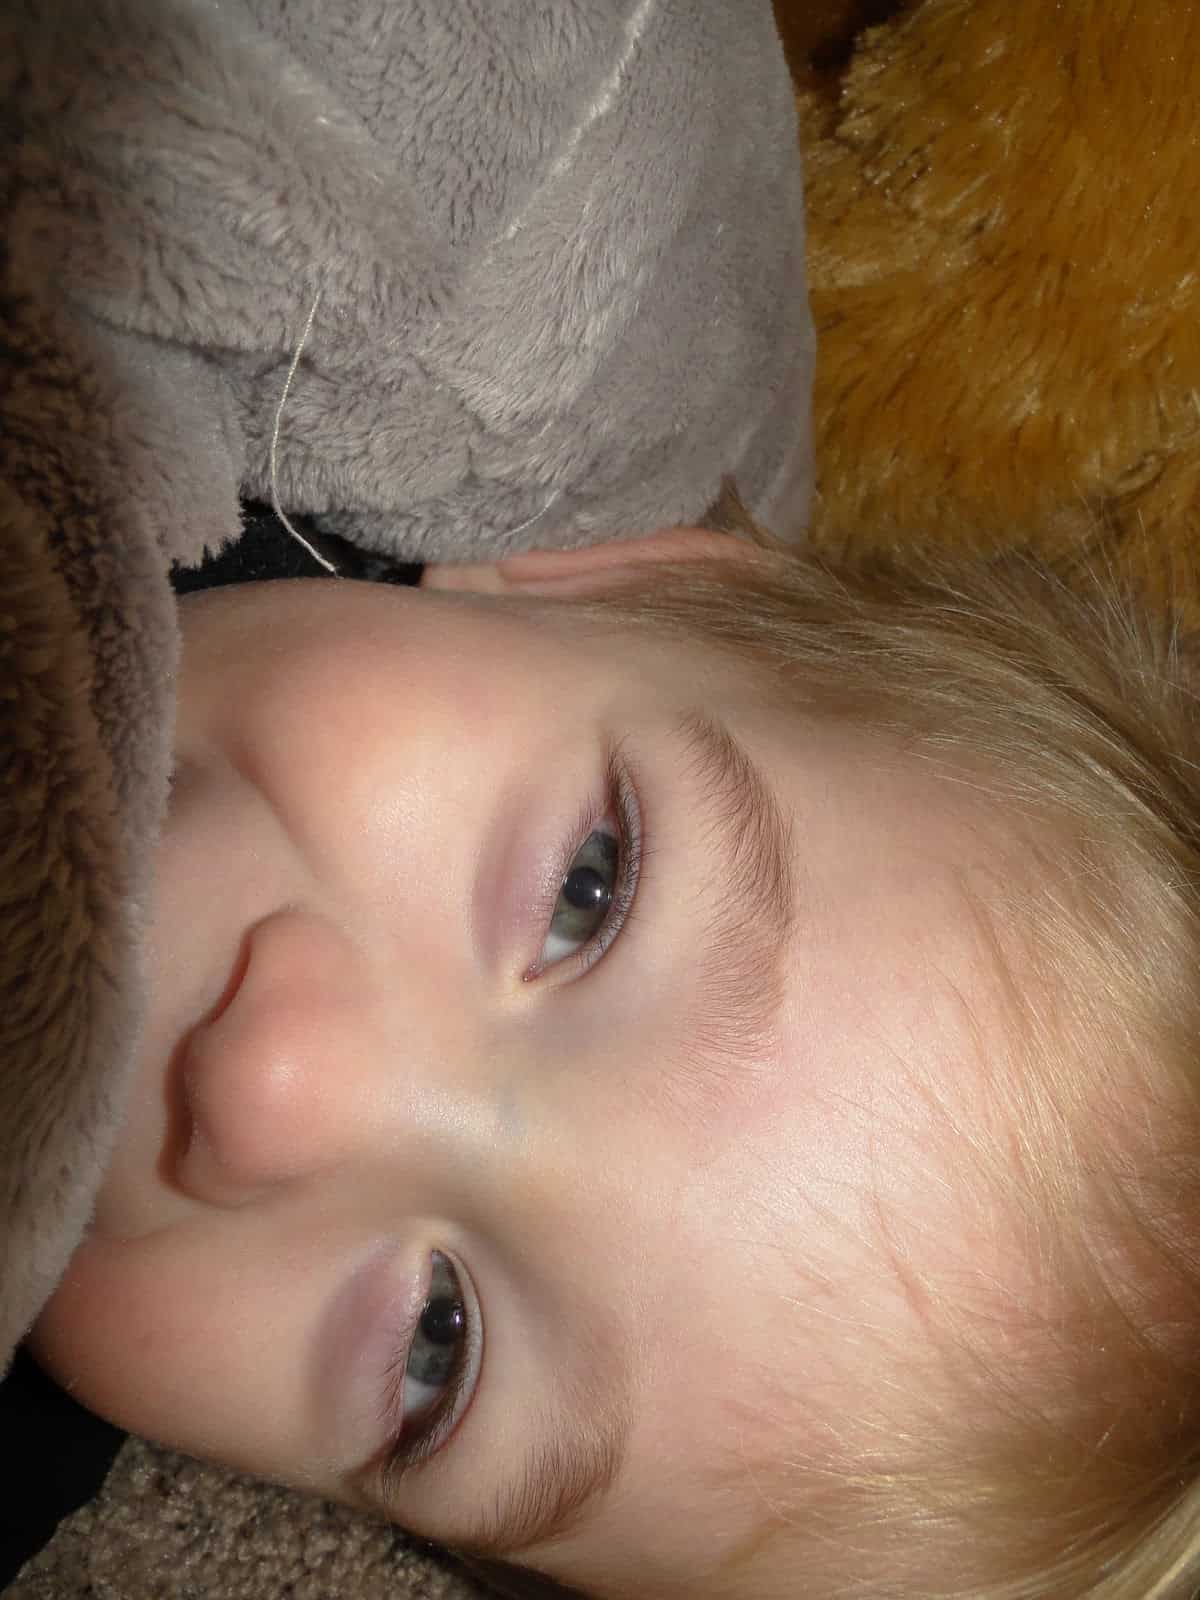
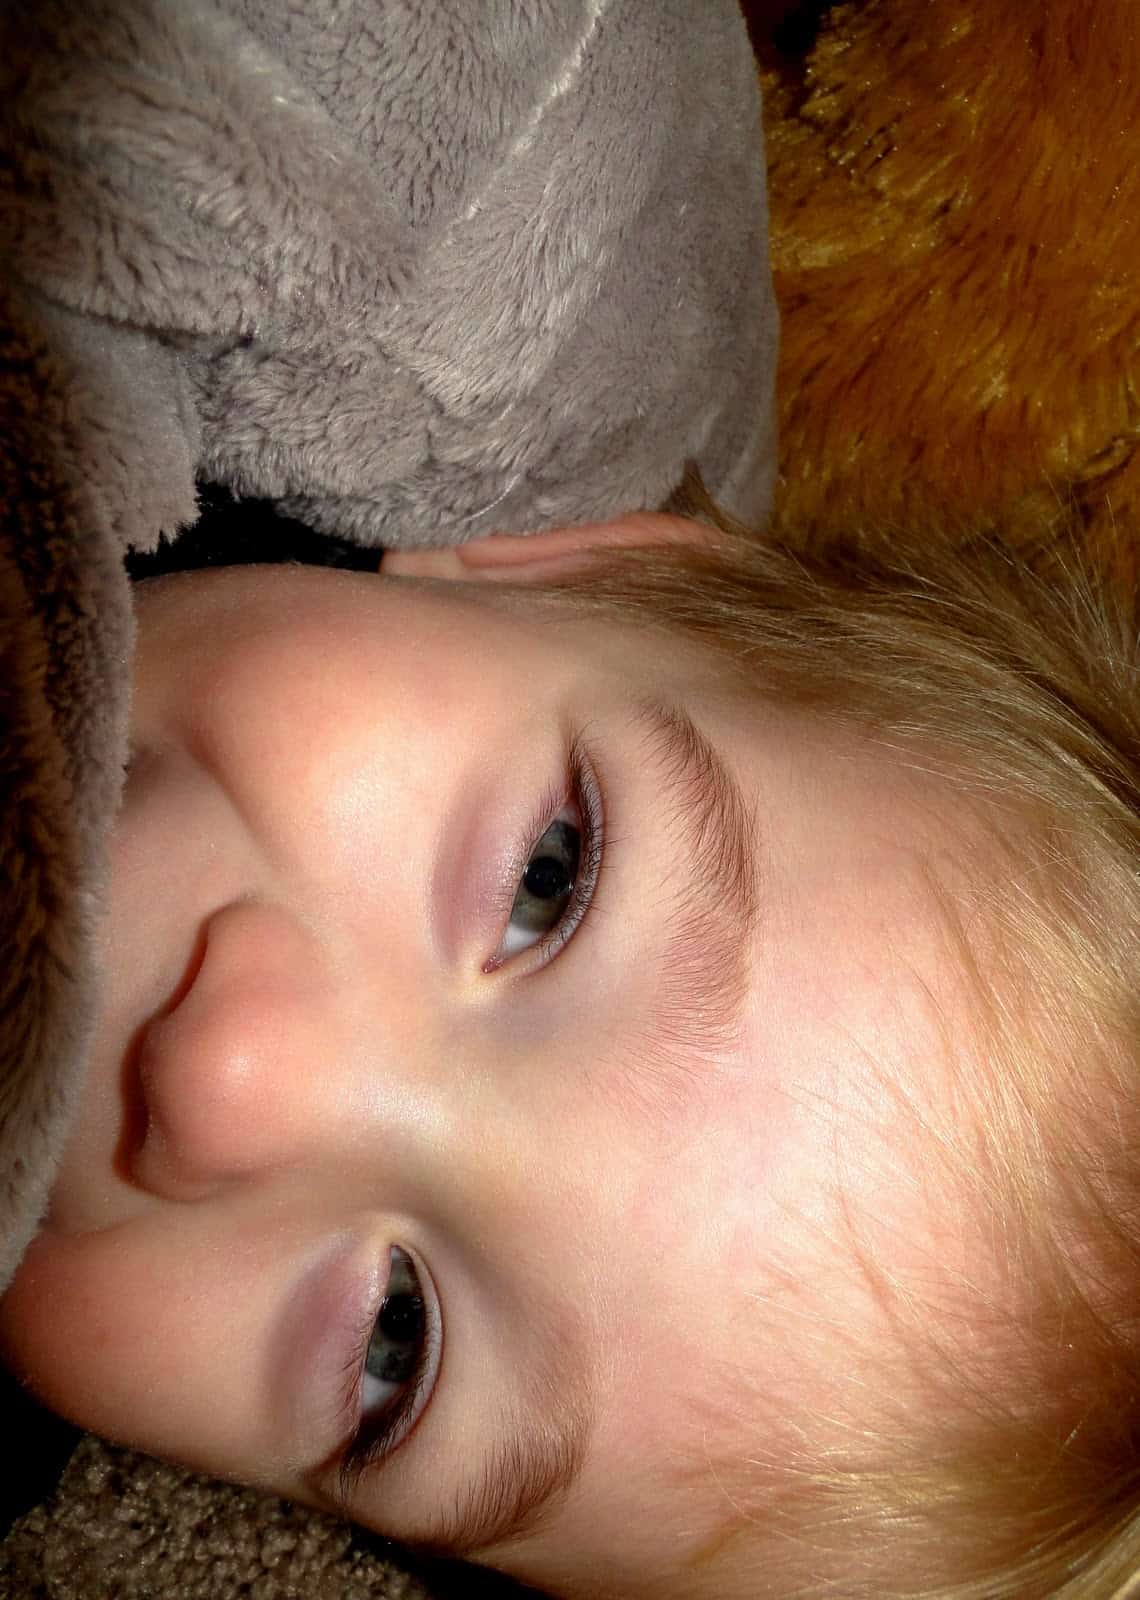
4. I knew this wasn’t amazing or anything but it’s tough to get a cute picture of a toddler…especially with him looking at the camera and looking happy so I included it
The thing I really, really can’t stand is the shadow on the left edge of the picture. And you can’t crop it out or you lose part of Kye. I also don’t like the obvious use of flash with the bright spots on his face. I edited them out of his eyes and also edited out his dark vein on his nose (I edit it out of basically every picture..it’s not noticeable in real life but for some reason in pictures it often stands out). I cropped it closer to really make sure the focus was on his face and I edited out the random string hanging down from the gray stuffed animal. Can’t do anything with that dang shadow though which pretty much ruins the picture for me!
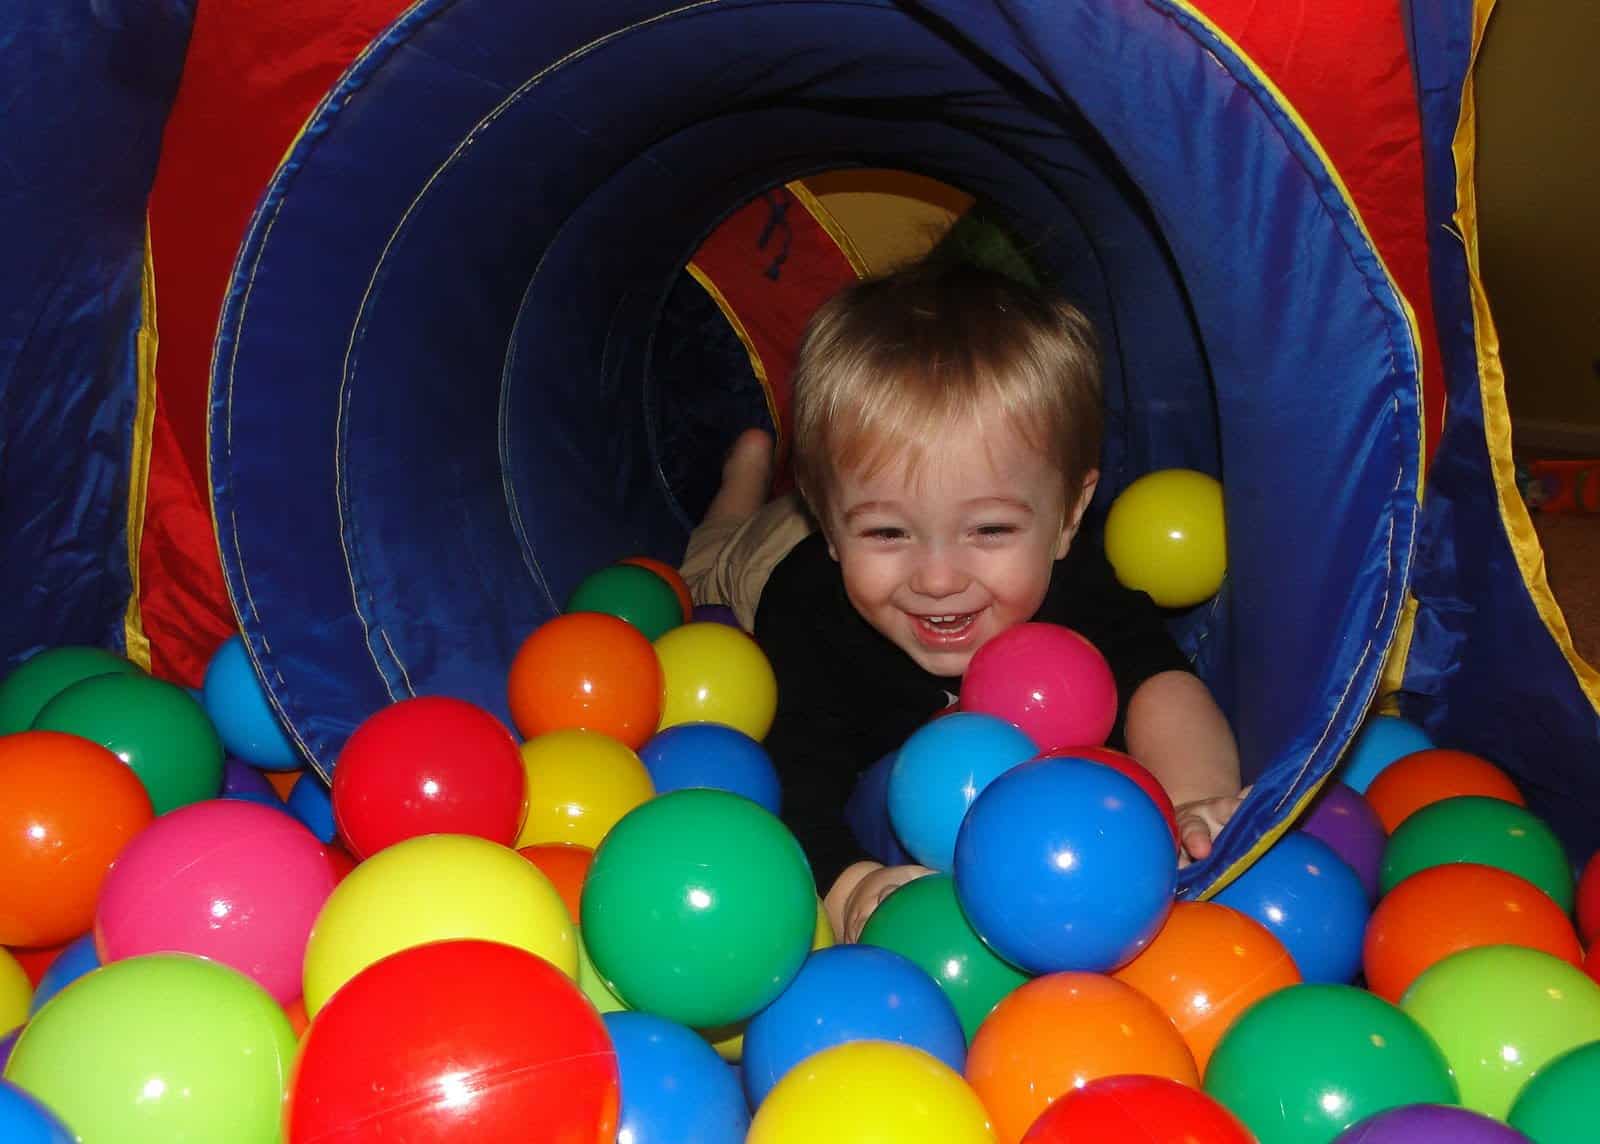
5. This is the image Javon put on the board as the class critique. I’m probably more critical of it than everyone else was! They liked how the tube framed my subject and made it clear. Javon talked about how the rest of the circle is assumed even though we can’t see it. I do think it shows what love is to me because Kye was having so much fun!
I felt like the attention wasn’t as much on my subject as it could have been because there were so many balls in front of him so I cropped it in closer and I also didn’t like my obvious use of flash so I edited it out of each ball. I also wanted Kye a little brighter so I played with the tuning of it again 🙂
I’m really excited to learn more about photography! I take SO many pictures, I might as well learn how to take the quantity of images and turn them into quality ones right?
- A Letter to my Son on His 16th Birthday From Mom (Kye’s Bday Letter) - March 20, 2025
- Open Letter to my Daughter on her 12th Birthday – Love, Mom {Britt’s 12th Bday Letter} - January 16, 2025
- Letter to My Son on his 6th Birthday – Love Mom - January 8, 2025

